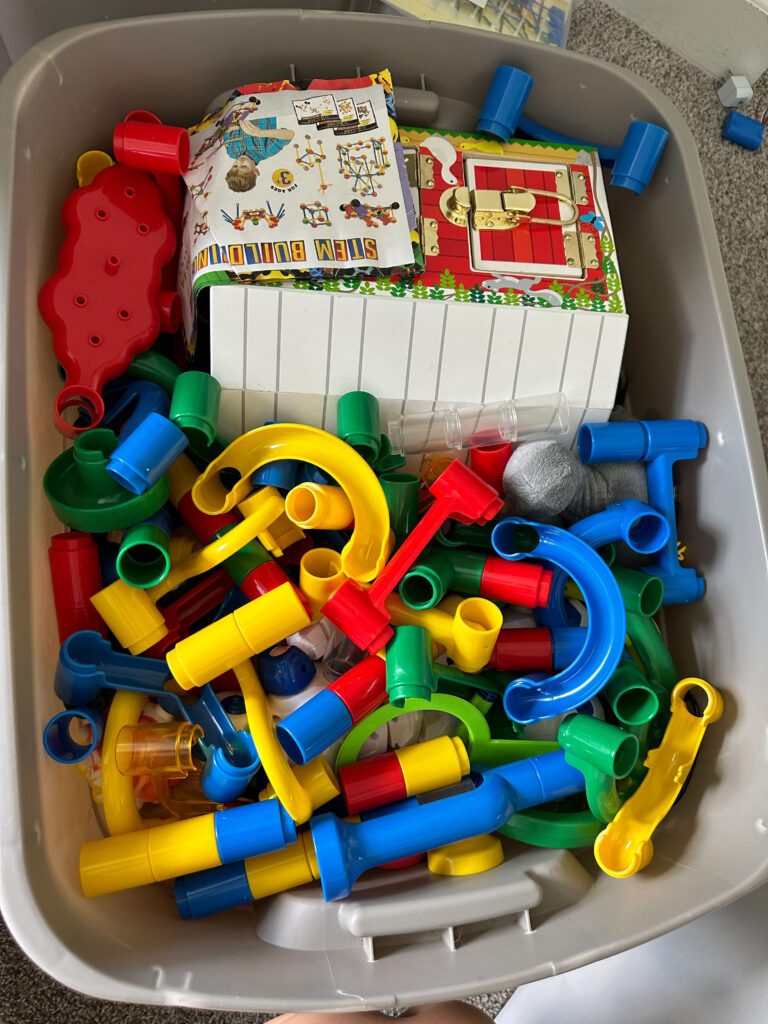
“I’m boooooooored.” Sound familiar? Chances are, you have heard this just after tripping over an impressive heap of unplayed with toys. If you can relate to this, you’re about to love me.
I started a system in my home that not only cuts down toy clutter DRASTICALLY, it also keeps your kids mesmerized by the toys they own. I have been using this system in our home for 5 years and it is a game-changer. My kids are so excited when I bring a “new set” of their old toys out. They play quietly for hours. And the best part? There are fewer toys out to play with, so the clean up is easy. We rarely have toys completely out of control. All it takes is a few supplies and setting a weekend aside to set your system up. Once you do it completely and thoroughly, you will never have to do it again. Ready for it?

Supplies:
Storage Bins: I like these, because they stack nicely and hold even bulky toys. I make sure to keep them all the same style and color, creating a uniform, clean look. I use a total of 12 tubs. I have three kids, but the younger two are the only ones who have toys to rotate. How many you need will depend on how much you keep. This link is a great deal for a set of 16 tubs.
Labels: I use chalkboard labels like these for my bins. You will understand the need to be able to change the label easily once you read further.
Garbage Bags: Get the black lawn and leaf bags. Just trust me on this. There is nothing like being accidentally caught smuggling a broken toy out of the house.
Notebook: You will need this to track your progress and record your “inventory.”
Once you have these items, you are ready to begin. Find a room in the house that you can get some privacy….or at least one where you can keep the kids away from toys while you organize. (I chose a small room with a door, as I knew it would take me several nights after putting them to bed to do this and needed to hide the toy mountain I created.) Go through your entire house and get every single toy. I am talking EVERY toy. The ones in the bedrooms, playroom, random drawers, your car….you know they are in there. Don’t leave one Lego or headless Barbie behind. Put them all in the area you are working in.
You are creating sets of toys that will be out to enjoy. To keep it well-rounded, it’s important to identify the toys by how your child benefits from them. I chose to separate mine into the following categories:
Constructive Play (things like building blocks, Picasso Tiles, Marble Run)
Arts and Crafts
Problem Solving Play (things like games and puzzles)
Dramatic Play (things like costumes, toy toolsets, etc.)
Emotional Play (things like babydolls, stuffed animals, etc.)
Motor Skill Development (toy cars, ride-on toys, instruments)
Using pieces of paper, write each category down and place it around the room, careful to give each category ample space for sorting. Roll your sleeves up, get your black trash bag, and get started. Pick up each toy and decide if it goes into the bag or into one of your categories around the room. If it met the follwing criteria: broken, overly worn, or outgrown….it didn’t make the cut. Don’t feel guilty about getting rid of toys like this….they have served their purpose. It will benefit your child to have organized, quality toys. (Even if your child doesn’t play with it, if it is in good condition and age appropriate, hang on to it. You will be surprised how they begin to play with things that were previously neglected before you began this system.) I’m sure this goes without saying, but if your child loves a certain toy and it fits into one of the “unworthy” categories….keep it. I’ve thrown one-legged-Kent doll back into the toy box many times.
Sort until every last toy has been placed in one of the 6 categories above or has been placed into the black trash bags. Put the trash bags aside-you’ll deal with them after you are finished. (I find people often get so focused on what to do with things they are discarding, they lose focus on the actual project in front of them. Just get them into your bags.)
Now, it is time to create your first “set.” I created 4 sets of toys. I wound up needing 4 bins per set of toys. But remember, one set will be left out for playing, not storing. So, while I have one set of toys out for them to play with, there are 12 bins of toys (3 sets) being stored. The number of bins will differ based upon your household.
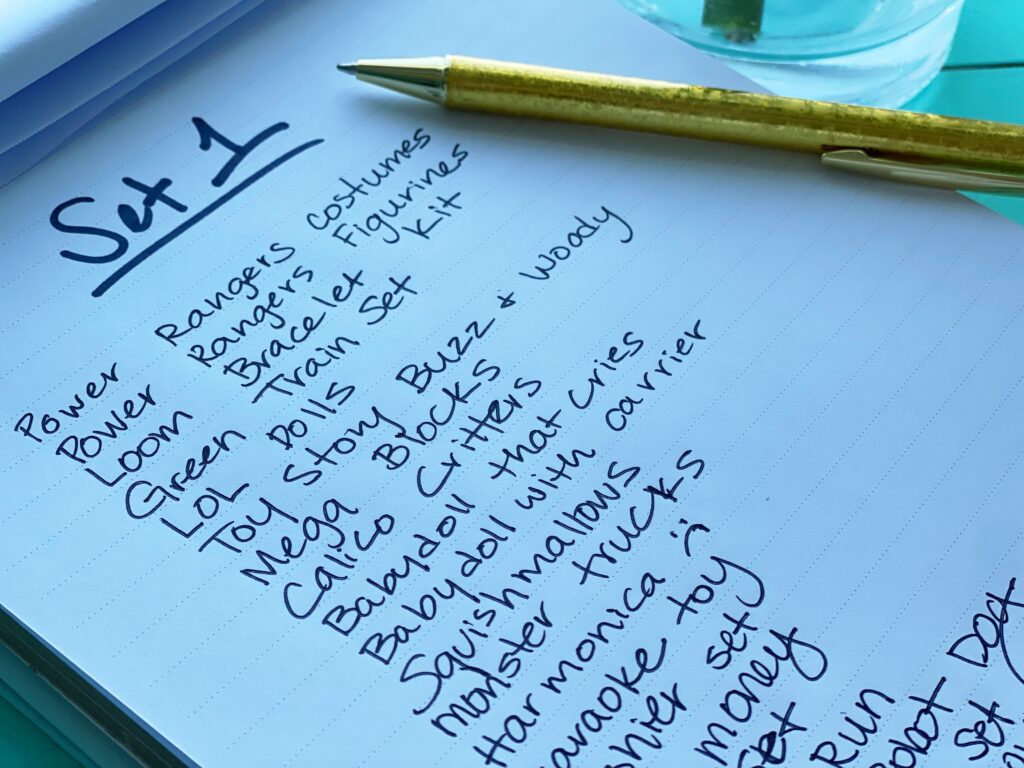
Create your first set by labeling your bins with a code designating that they belong together. I chose to be simple using numbers. Take toys from each category you have created (dramatic play, constructive play, etc.) and begin to fill the bins in that set. While looking at each category, keep in mind that you will need to fill 4 “sets” with toys. In other words, don’t put all of your dramatic play toys in your first set-put a quarter of the “Dramatic Play” pile into “Set 1.”
As you are filling your bins, record the toy you are placing into the bin. While this seems tedious, TRUST ME it will be so good down the road. When someone comes over to play and your kid requests “that football thing with lights on it”….you will simply have to look in your record to know where to find it.

Once you have filled your boxes for “Set 1” with items from each category, close the bin and put the stack aside. Continue the process, creating a “Set 2” and a “Set 3” the same way you created “Set 1,” being sure to keep track of the toys in your notebook. Once those bins are put aside, one set should remain, “Set 4.” “Set 4” will be put out to play with and will not require bins at this time.
Once you have put the set of toys out for play, you will be surprised at how having fewer toys to play with at one time makes them more appealing. I shoot to rotate toys every 2 weeks. When it’s time to rotate the toys, I literally pull all of the toys that are out for play and put them aside, ready to be put into storage.
I bring out the bins of the next “set” to put those toys out for play. (Do this while they are at school or asleep so they aren’t involved in the process.) Once you have gotten the new set of toys out, erase the label on the bins. Relabel and fill the empty bins with the set of toys just cleared from the play space. Put them away with the other storage bins. Done.
When a fresh “set” comes out, my kids act like it is Christmas morning. I hear them squealing to each other “Look at this!” or “I remember this!” One time, just before a playdate, one of my kids excitedly told their friend “Just you wait, there is a brand new set of toys and you are going to freak!” The child probably had no clue what my kid meant, but the excitement was contagious as they ran squealing to play with their old toys.
It might sound tedious and like a lot of work, but I promise, it only takes one time to set this up. Invest your time in implementing this system in your home and you will reap the benefits of toy control for years to come.
HELPFUL HINTS:
Use gallon Zip Loc Bags to corral small items together before putting them in the bin. You will be glad you did that when it comes time to put those toys out.
Keep a spot for “stray toys” that appear. I cannot tell you how many times I find a something like a Picasso Tile that I somehow missed when I was putting the “set” it belongs to away. I toss it into a little basket I keep in my garage, and when I get time, I consult my list to see which “set” it belongs to and put it in the box.
Check to make sure toys have working batteries each time you put a “set” out.
Make it fun for yourself! If you are having a tough time getting motivated to do the entire sort/purge process, make it fun. When I did my initial sort, I poured a glass of wine and indulged in trashy reality shows. If you really want to have some fun, take a shot for every time you read the word “set” in this post.
If you struggle with knowing which toys to get rid of and which to keep, this video is a great resource. The entire video is great info, but she specifically starts discussing which toys to purge/keep around the 5:00 mark. Video
