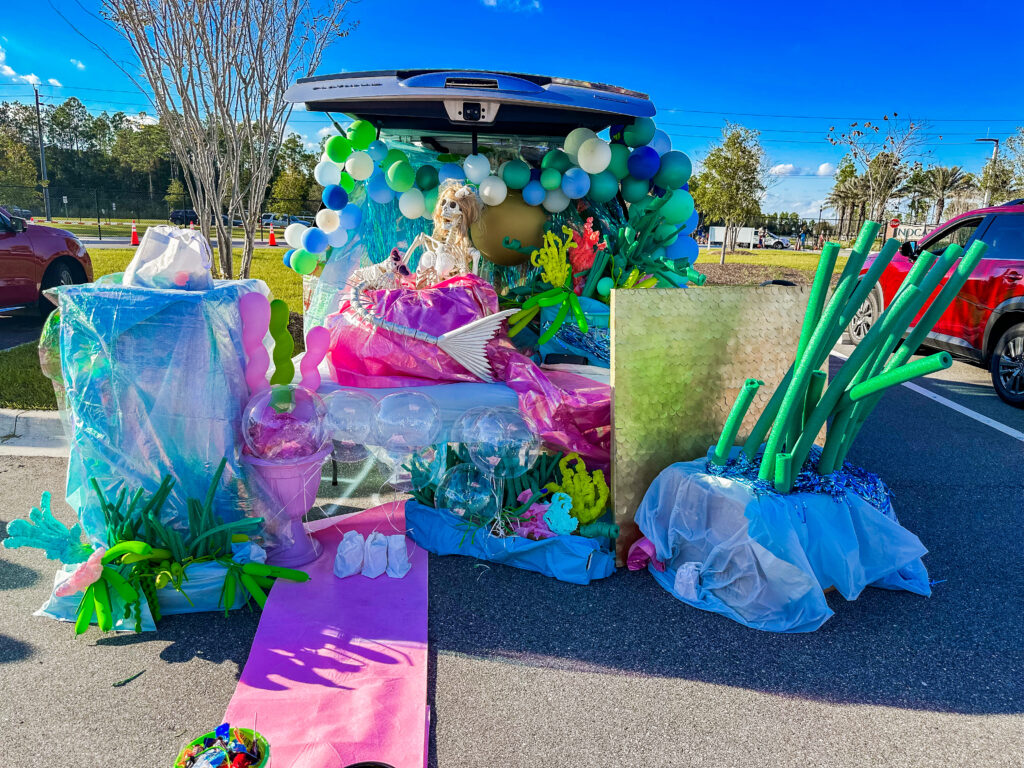
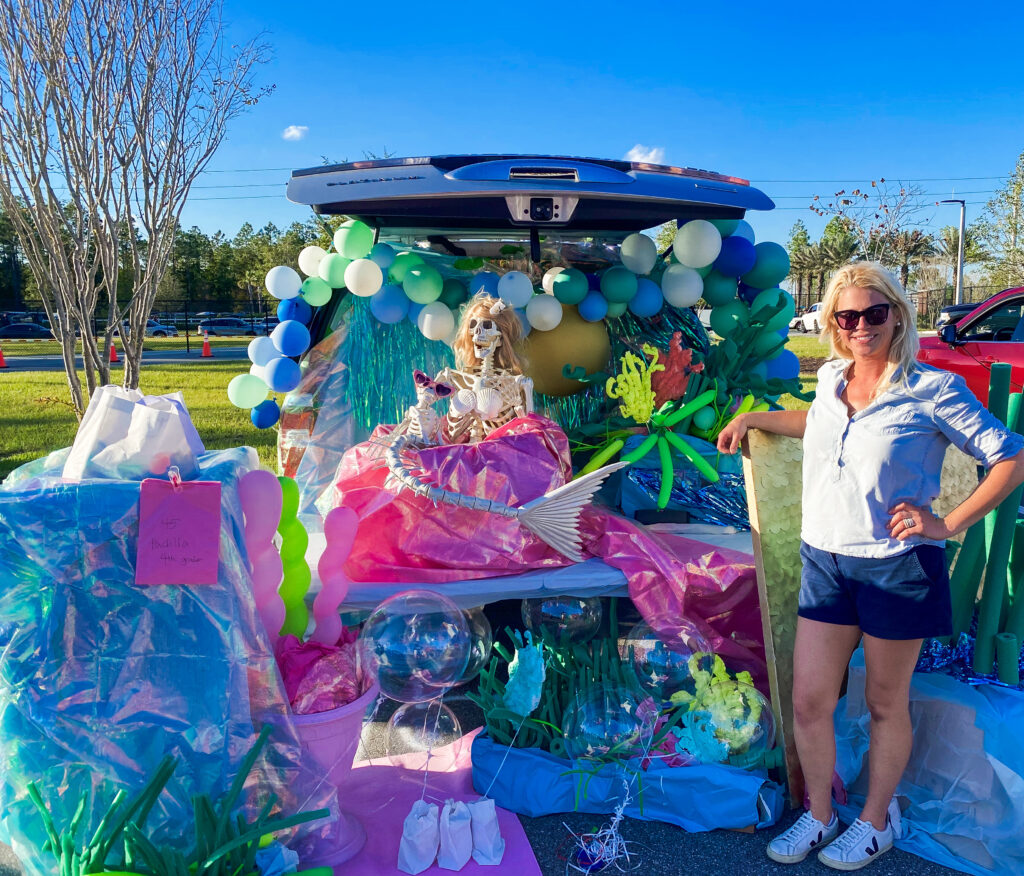
For our school’s trunk-or-treat, I had the role of designing our class trunk. We chose to do an ocean based theme inspired by this lovely lady.
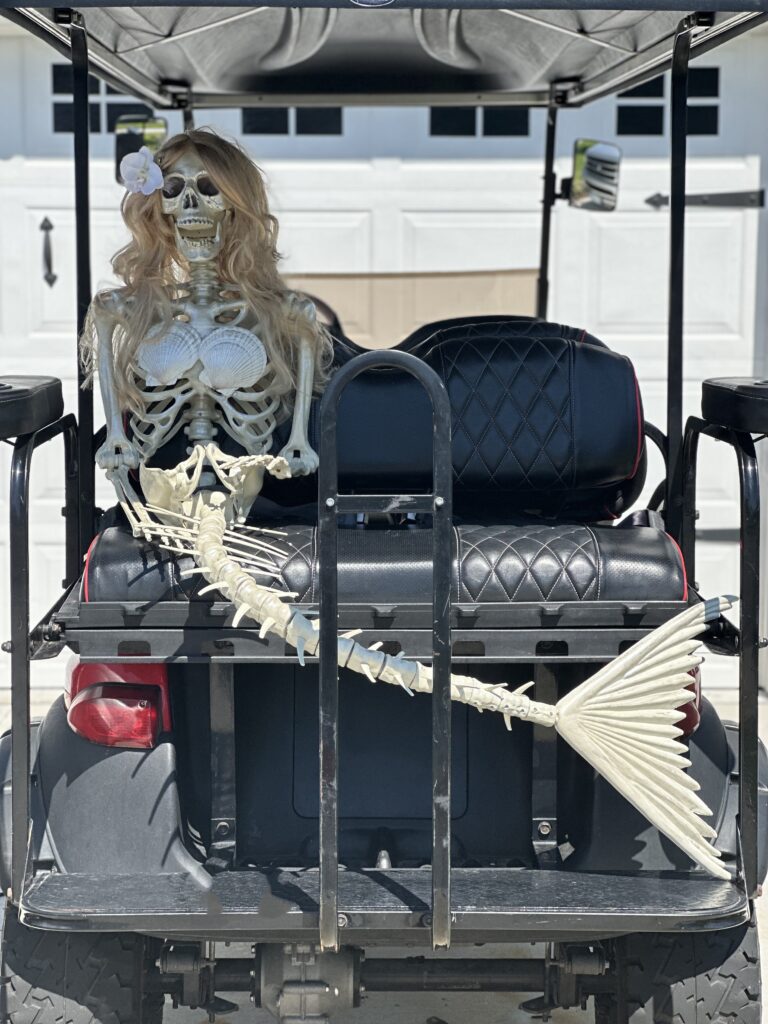
How fun is “she?” I have been dying to create this mermaid skeleton for our golf cart as a Halloween decoration. Every year it was sold out before I could get my hands on it. This year, I finally got one. (This is where I got it.) I glammed her up a bit. I lightly coated her in this pearly paint, glued these two shells onto her to make a “top,” and finally glued on this blond wig. It’s my favorite Halloween decoration.
I envisioned a happy, colorful coral reef as the setup for the trunk or treat, with the mermaid skeleton in the middle. I love how it turned out and wanted to share the step-by-step, as this would be perfect for any birthday party or event.
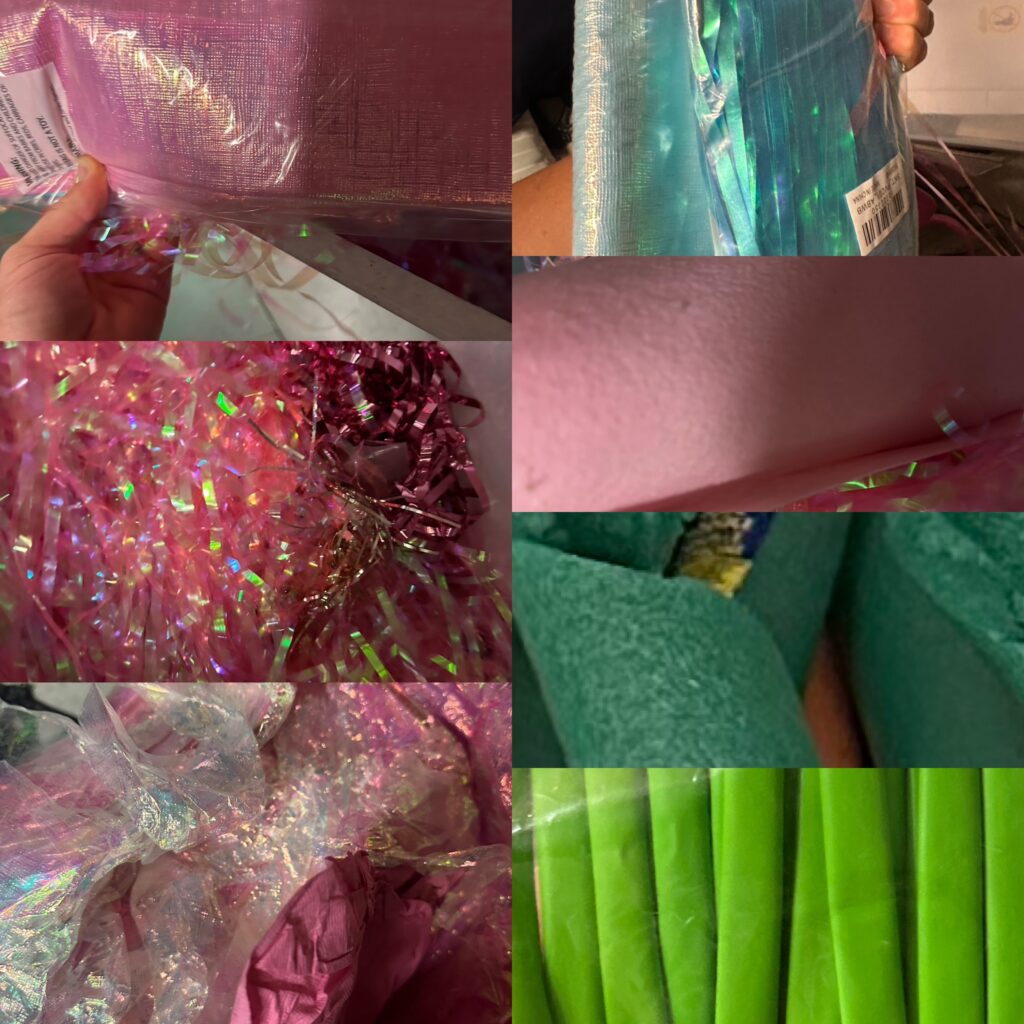
First, I decided on a color scheme. I always use the 60-30-10 Rule. This common decorating technique states that when you are choosing colors for a design, 60% should be the dominant color, 30% should be the secondary color or texture, and 10% should be an accent color. I like to photograph the items as I purchase them and create a photo collage. This is such a simple way to decide what I am going to use in the design. This is the collage I made before I got started. It will come as a shock to no one that pink was the dominant color in my scheme. Shades of green were my secondary color, with aqua as an accent.
Foundation: I needed to have something that would be easily transported. I went with cardboard boxes, and they were the perfect choice.
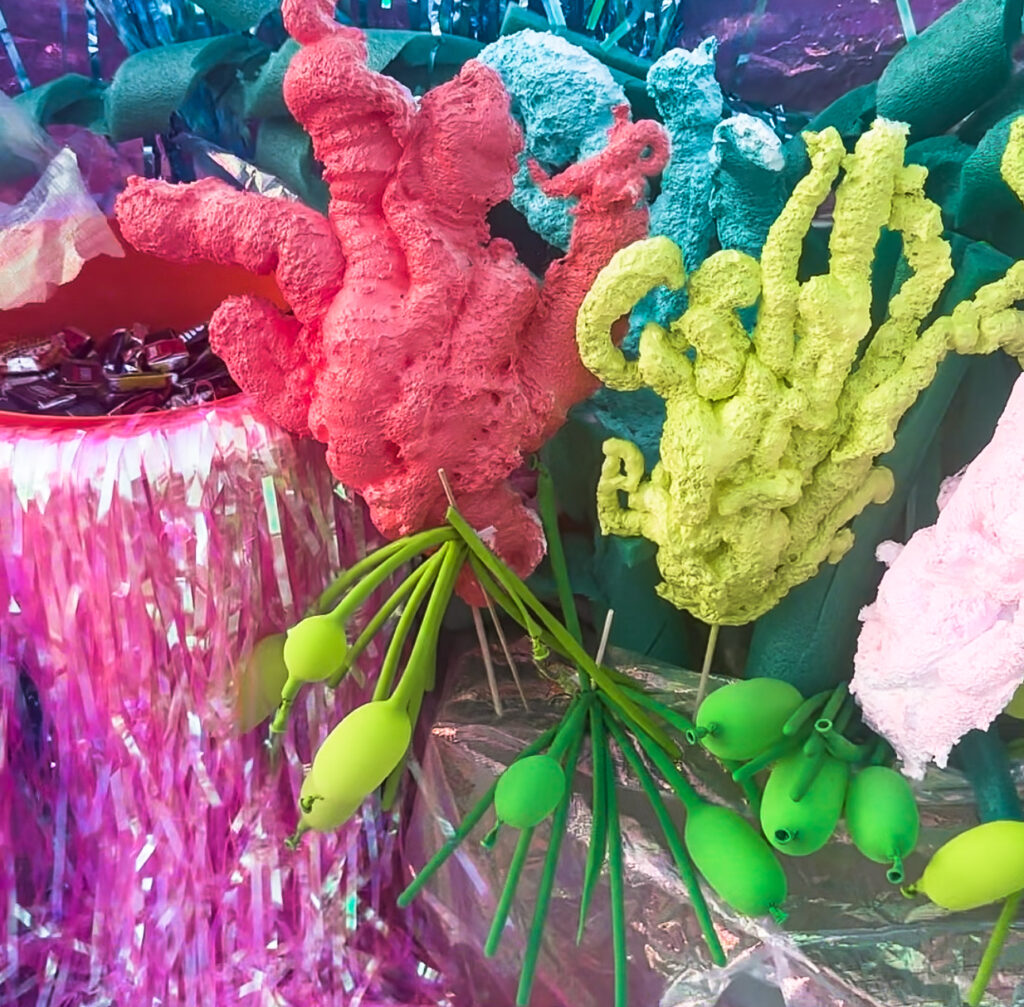
Seaweed: I used green pool noodles and long balloons in various shades of green to create seaweed. I cut the pool noodles different ways to make it look like a variety of sea plants. I shoved each piece onto a wooden skewer and jabbed the skewer into a cardboard box. It held perfectly.
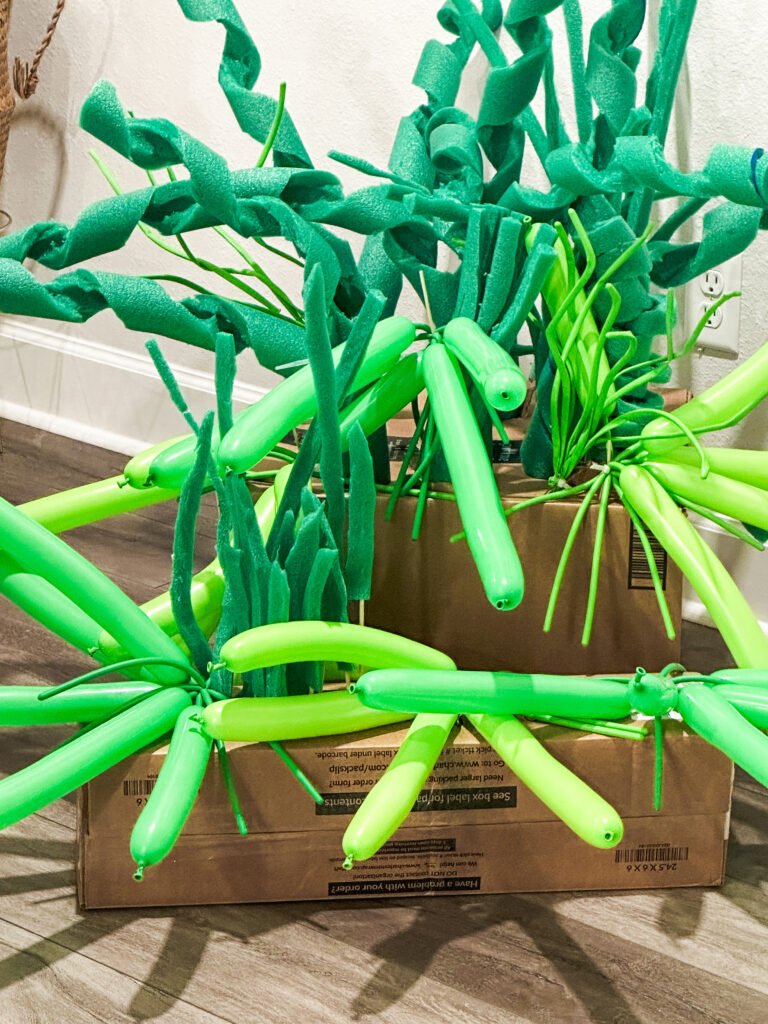
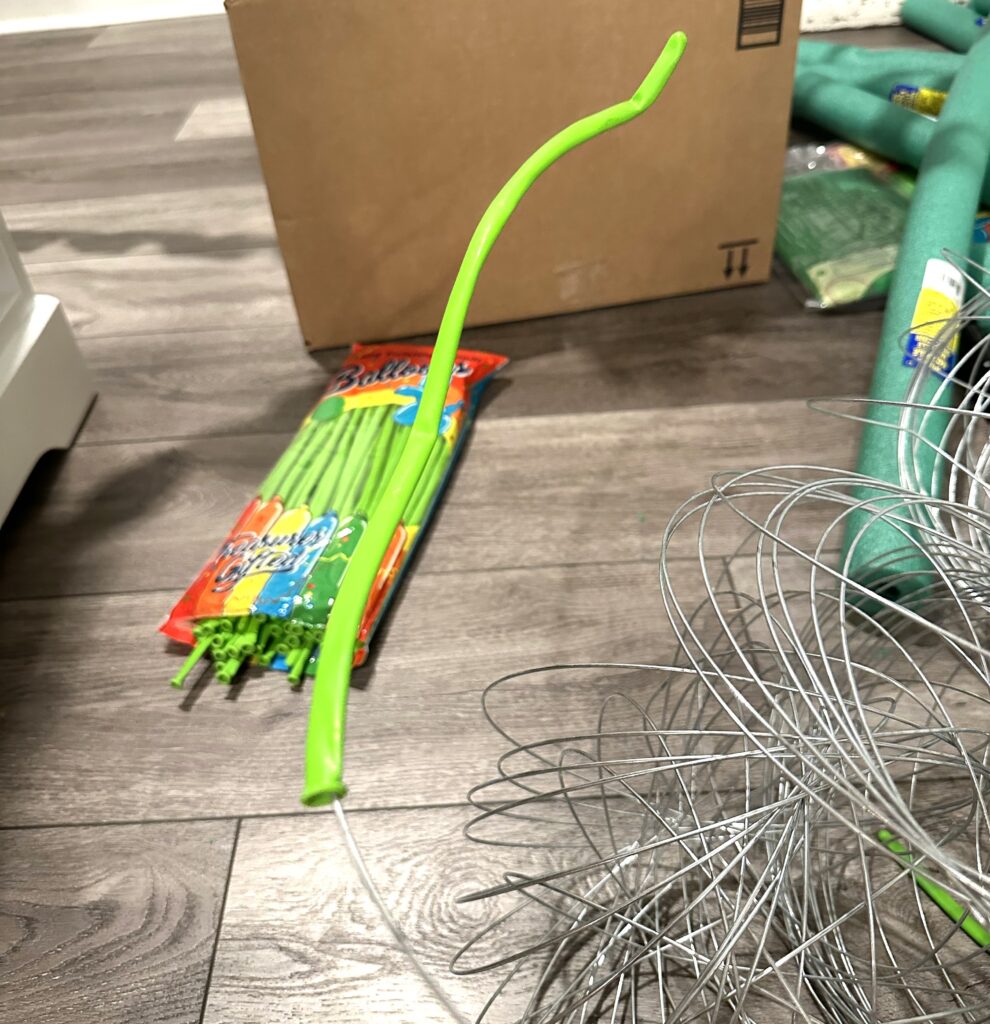
My intention was to inflate all of the balloons, but as I started to experiment with some wire and deflated balloons, the result was fantastic. Simply slide the balloon onto the wire and twist the pieces together to make a bundle. This little bundle brought such visual interest and looked so realistic. Using the same material in different ways is a great way to create an interesting look while staying within budget.
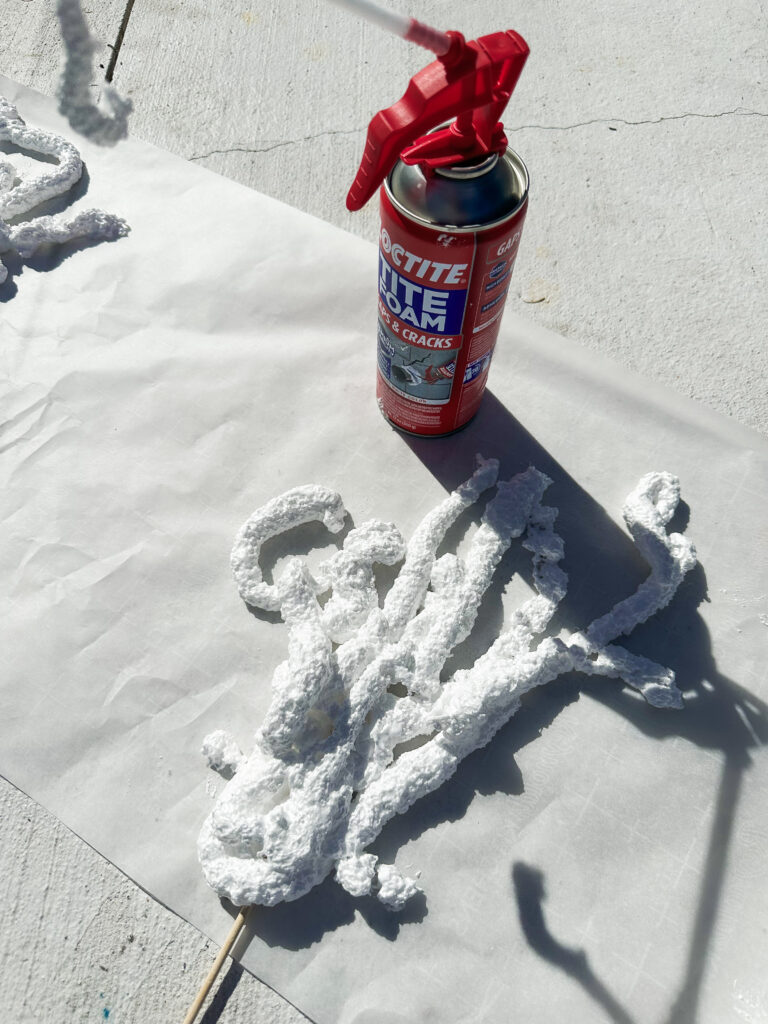
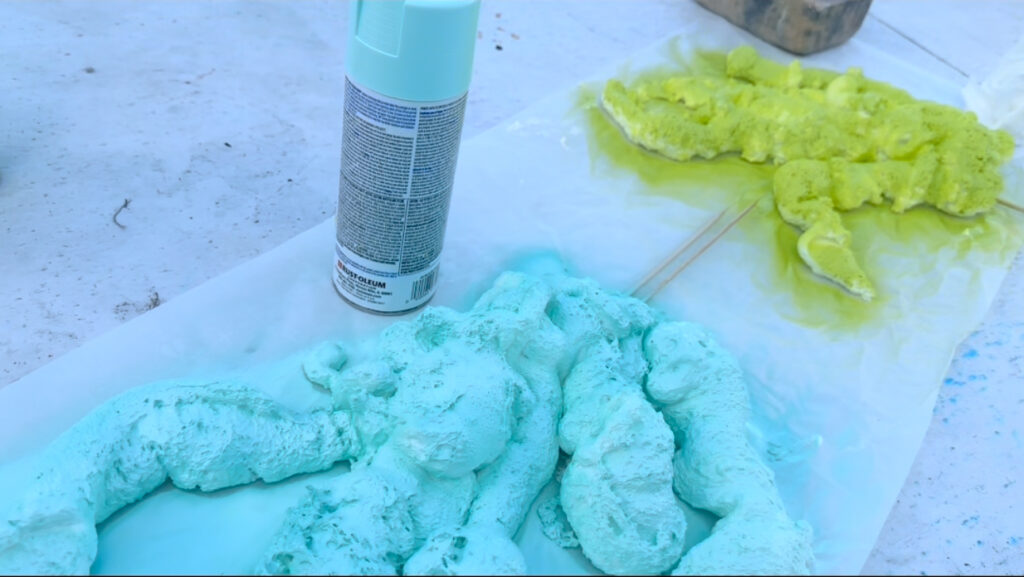
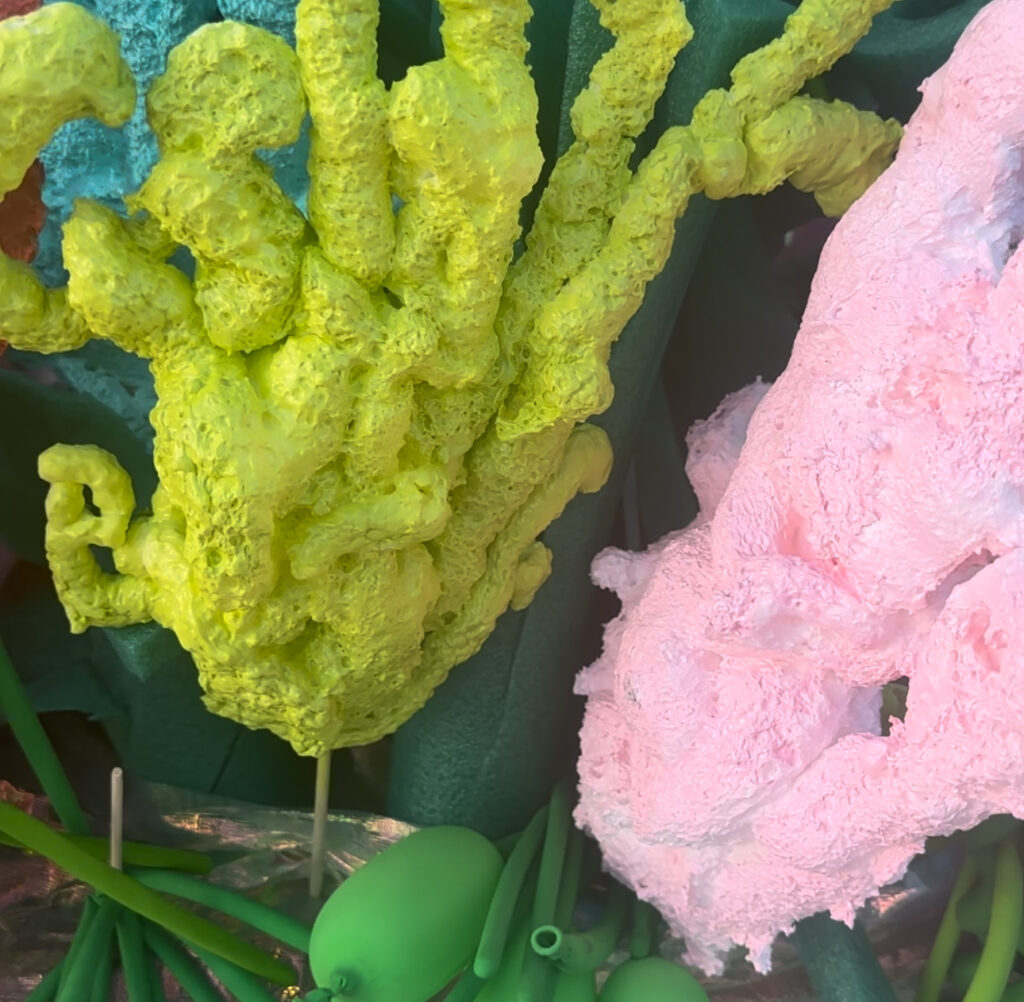
Coral: For the coral, I decided on one of my favorite materials to use when making props: spray foam. It’s so random, isn’t it? It comes out with the consistency of whipped cream, then hardens to whatever shape you have created within a half hour. The texture of it makes it perfect to use for any organic prop. I sprayed the foam onto parchment paper, forming coral-like shapes. Before it had time to harden, I added a wooden skewer to the bottom (picture it like a lollipop.) Adding the skewer made for easy attachment into the cardboard box. Each piece was given a fun pop of color with a coat of spray paint.
I assembled the coral among the seaweed. I draped plastic table clothes and tinsel curtains (links at bottom) over the boxes. You can do this step prior to arranging the seaweed and coral to save time, but I wanted to see how it would come together prior to deciding on which cloth to use.
I added a few additional elements that I will link below. The entire thing came together in such a fun display. Seeing the kids’ little faces light up when they saw everything put together made it worth every second.
Supplies:
Tablecloths-Basic blue , Iridescent Blue, Iridescent Pink
Metallic Fringe: Blue Long, Iridescent Long, Short Fringe
Balloons: Arch, Clear Balloons, Spiral Balloons, Lime Balloons, Green Balloons
